Bring RFID to your projects — everything from the video in one box. Build a tag reader that recognizes specific cards, stickers, and keyfobs, with an OLED screen for instant feedback: scan a matching tag and get a heart, scan the wrong one and meet the dancing skeleton. Then make it yours — unlock effects, trigger lights, or build a secret access system into a wearable.
Kit Facts
Difficulty: Level 1 — Plug & Play
Soldering: None — solderless breadboard wiring
Sewing: None
You'll need: a USB-C data cable and a computer
What's in the kit
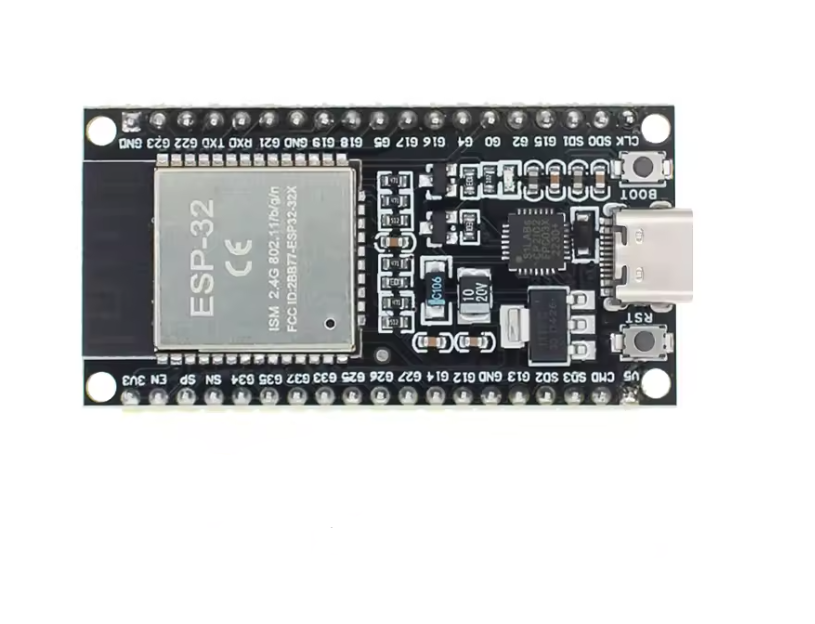
1 × ESP32 Development Board, 38-pin (USB-C)
1 × RFID-RC522 reader board with starter tags (13.56MHz, SPI)
1 × Colour RFID keyfob tags, 5 pack — assorted colours, may vary
1 × OLED 0.96" display, 128×64, I2C (SSD1306) — display colour may vary: blue, white, yellow, or yellow/blue two-tone. All work identically with the video code
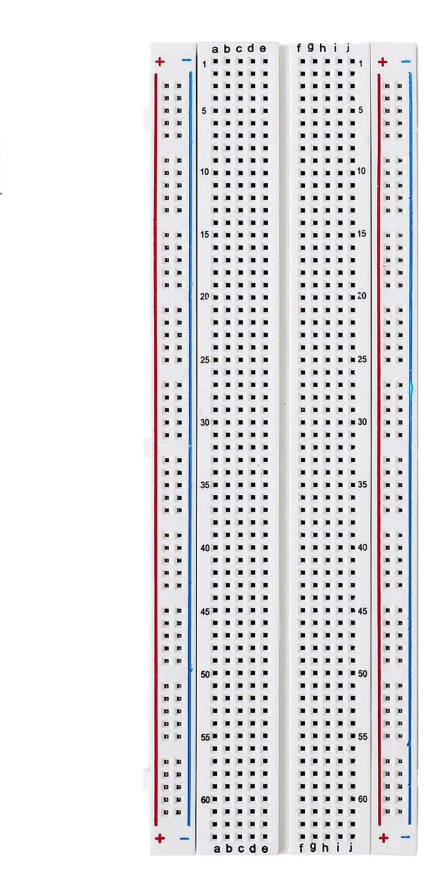
1 × Full-size solderless breadboard (830 tie points)
1 × Various hook-up wires
Bought separately: $47.42 — as a kit: save ~16%!
What you'll build
Wire an RC522 RFID reader to your ESP32 over SPI, plus the OLED over I2C — full wiring walkthrough in the video
Read the unique ID (UID) from every tag, card, or sticker you scan
Program tag-matching logic: recognized tags trigger one response, unknown tags another
Ideas to take it further: access control for your workshop, tap-to-activate costume effects, interactive art, or hidden triggers sewn into clothing
You'll also need
A USB-C data cable for programming (a charge-only cable won't work!) — our USB-C Data Cable (1m) is data-ready
A computer with PlatformIO (VS Code) or Arduino IDE — both covered in the video
The MFRC522 library (free — installation shown in the video)
All code is free on GitHub, linked in the video description. New to OLED wiring? The screen setup has its own step-by-step video on the channel.